
Configure Click-to-call
Click-to-call is a SIP connection, so you create it the same way as any other. The 'Provider type' is what makes it a Click-to-call connection.
To create a Click-to-call SIP connection:
-
In the Navigation pane, expand Voice channels, and select SIP connections.
-
Click Add new SIP connection.
-
On the General tab, under General:
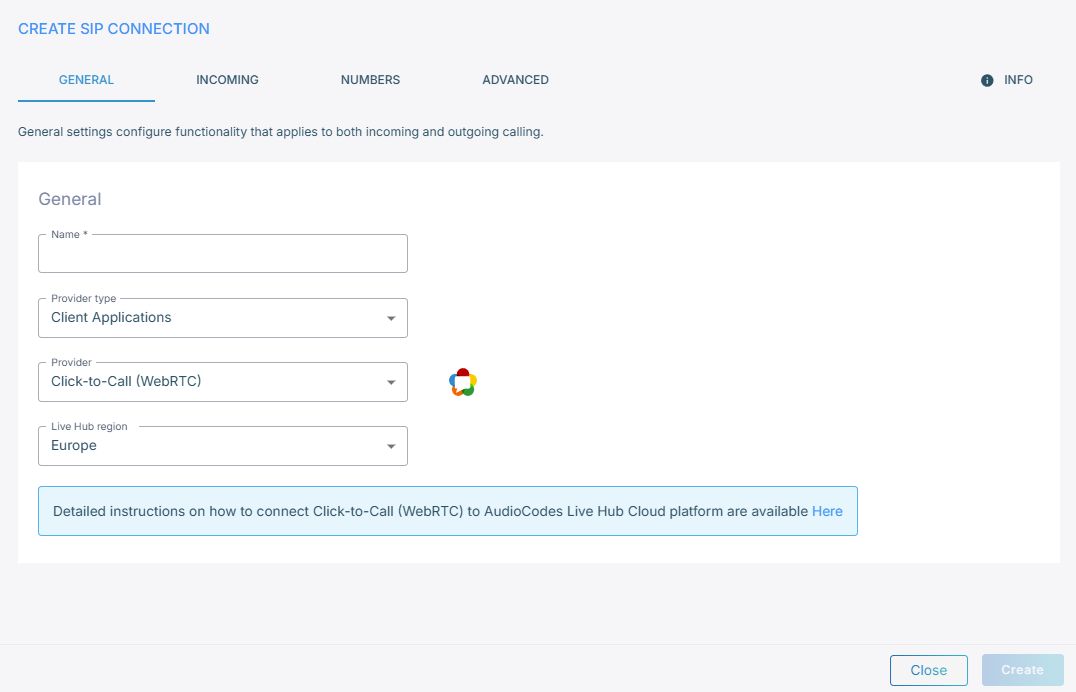
- In the 'Name' field, enter a name for the connection.
- From the 'Provider type' drop-down list, select Client Applications.
- From the 'Provider' drop-down list, select Click-to-Call (WebRTC).
- From the 'Live Hub region' drop-down list, select the region your Live Hub voice infrastructure runs in. See Global region support.
-
On the Incoming tab, under Authentication, select how Live Hub verifies that an incoming call belongs to this connection.
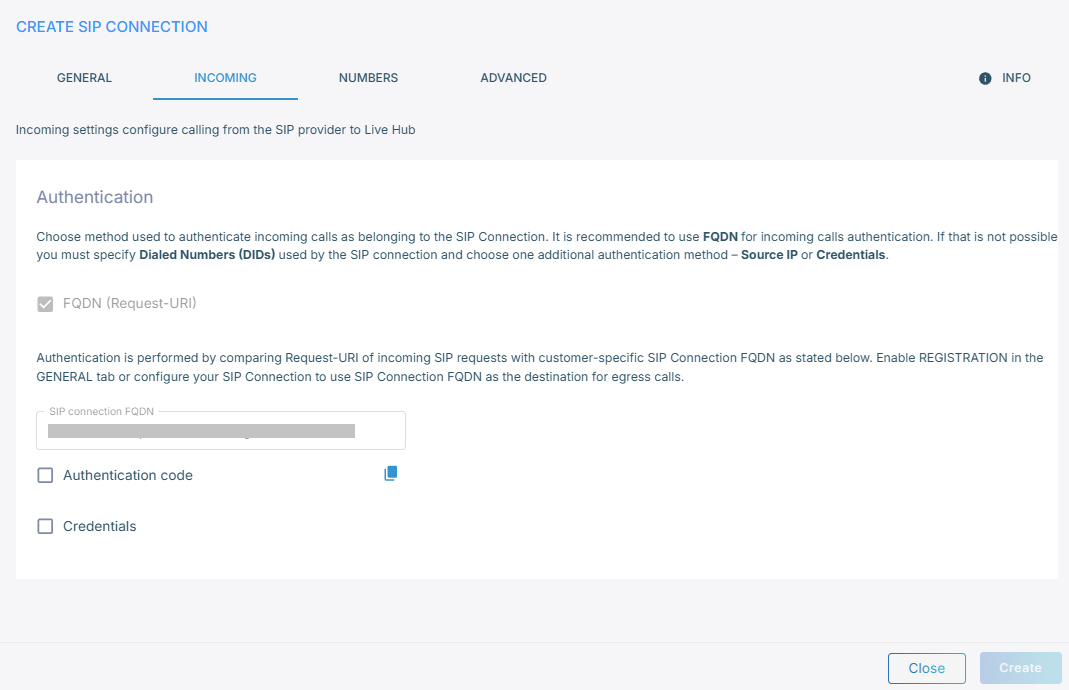
Method What it does 'Authentication code' Your back end asks Live Hub for a short-lived code before each call. This is the most secure of the three methods, and the one to use. The tab shows the URL your back end requests the code from. See Secure Click-to-call with authentication codes. 'Credentials' Live Hub checks a fixed 'Username' and 'Password' against incoming SIP requests. This provides basic security only, and the same credentials must also be present in your client code. 'FQDN (Request-URI)' Live Hub matches the Request-URI of incoming requests against the connection's FQDN, shown in the 'SIP connection FQDN' field. 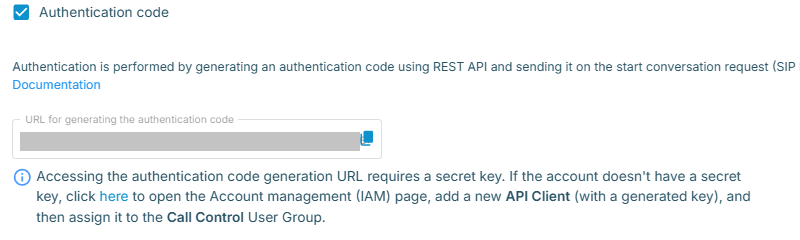

-
Click Create.
A Click-to-call connection has no Outgoing tab, because calls only ever arrive from your web page or app.
No call reaches a bot until a routing rule sends this connection's calls to one.